

In this comprehensive guide, we’ll dive into the world of Aroma Rice Cookers, exploring everything from the basics of setting up and using your cooker to advanced features and maintenance tips. Whether you’re a rice-cooking rookie or a culinary connoisseur, this article will equip you with all the know-how you need to master your Aroma Rice Cooker. Let’s embark on this journey to unlock the full potential of your kitchen companion and ensure every grain of rice is cooked to perfection.
Part 1: Introduction to Aroma Rice Cookers
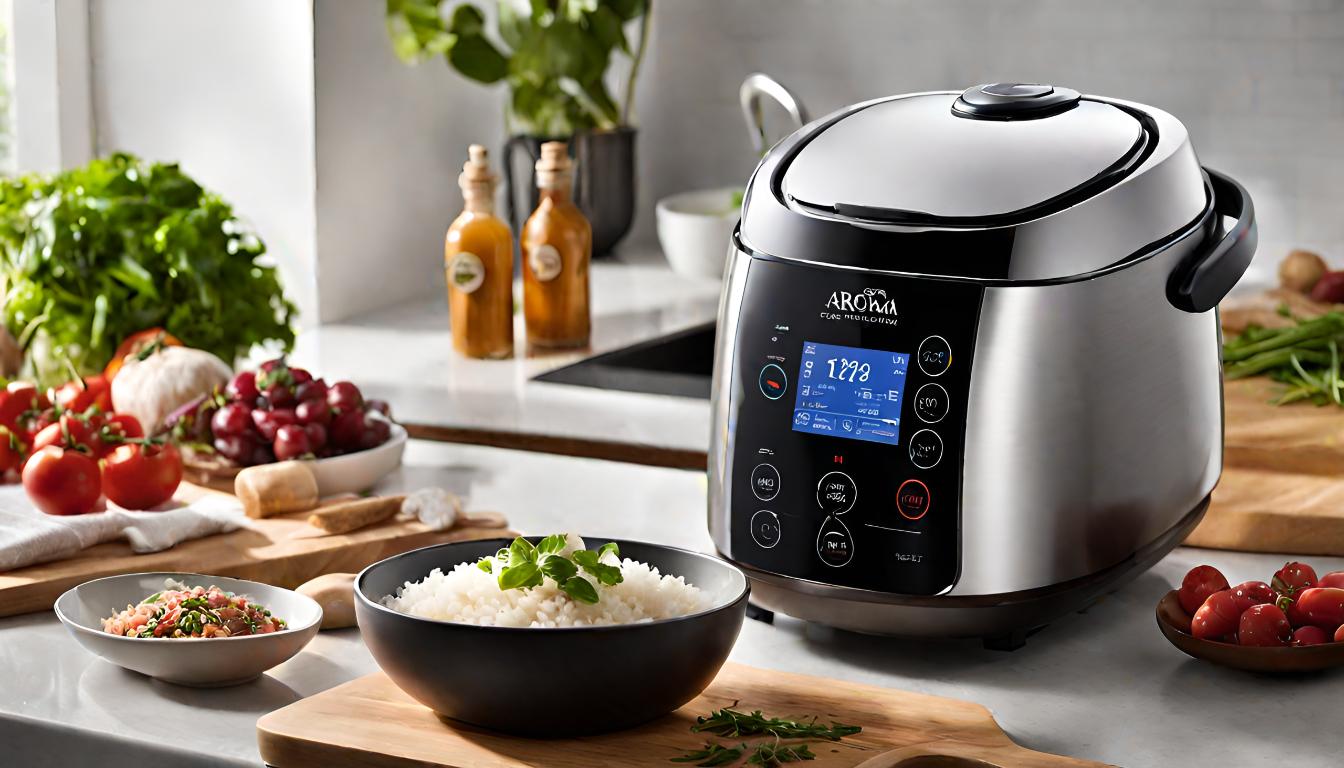
Overview of Aroma Rice Cooker Features
Aroma Rice Cookers are a game-changer in the kitchen, offering a blend of convenience and versatility. These cookers are not just about cooking rice; they’re about transforming the way you prepare meals. With features like multiple cooking modes, programmable timers, and easy-to-use interfaces, Aroma Rice Cookers cater to a variety of cooking needs, making them a must-have in any modern kitchen.
Benefits of Using an Aroma Rice Cooker
The benefits of using an Aroma Rice Cooker are as numerous as the grains of rice it cooks! First off, it’s a real time-saver. You can set it and forget it, freeing up your time to focus on other aspects of your meal or, better yet, to just relax. Secondly, it’s incredibly versatile. Whether you’re cooking white rice, brown rice, sushi rice, or even quinoa, your Aroma cooker handles it all with ease. Lastly, the consistent results are just remarkable. Every time you lift that lid, you’re greeted with perfectly cooked, fluffy rice.
Stay tuned for the next part where we’ll guide you through setting up your Aroma Rice Cooker, ensuring you’re well on your way to becoming a rice-cooking maestro!
Part 2: Setting Up Your Aroma Rice Cooker
Unboxing and Initial Setup
Unwrapping your new Aroma Rice Cooker is like opening a door to endless culinary possibilities. As you unbox, you’ll find a few key components: the main cooking pot, a measuring cup, a rice paddle, and of course, the cooker itself. Before you start, give the cooking pot a quick wash with warm, soapy water. It’s always good to clean new kitchenware before its first use.
Understanding the Components
Familiarizing yourself with the components of your Aroma Rice Cooker is crucial. The inner pot is where the magic happens – it’s where you’ll add your rice and water. The measuring cup ensures you use the right amount of rice, and the rice paddle is perfect for fluffing and serving your rice without scratching the pot. Most importantly, get to know the control panel. Whether it’s a simple one-touch design or a more advanced digital display, understanding these controls is key to using your cooker effectively.
a comprehensive guide on rice cookers, such as “Rice Cooker Buying Guide”
 In the next part, we’ll delve into the basics of rice cooking with your Aroma Rice Cooker. Get ready to turn those grains into culinary gold!
Part 3: Basic Rice Cooking Instructions
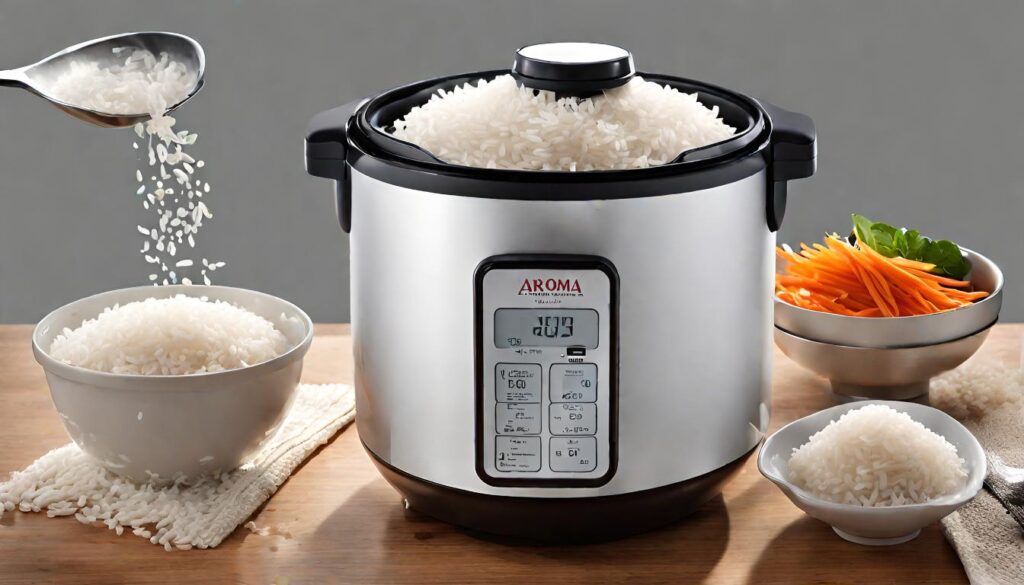
Measuring and Adding Rice
First things first, let’s talk about measuring your rice. Use the measuring cup that came with your Aroma Rice Cooker for accuracy. Remember, the cup size might differ from your standard measuring cup. For every cup of rice, you’re adding, remember to level it off for consistency. Pour the rice into the inner pot, and you’re halfway there!
“Rice Noodles Recipes” it provide you with additional rice-based dish ideas
Water to Rice Ratio
Now, the crucial part – water. The general rule of thumb is a 1:1 ratio for white rice, meaning for every cup of rice, add an equal amount of water. However, if you’re venturing into brown rice or other grains, the ratio may vary. Brown rice usually requires more water, about a 1:1.5 rice-to-water ratio. Don’t worry; it’s not rocket science, just a bit of culinary intuition!
Starting the Cooking Process
With your rice and water in the pot, give it a gentle stir. Close the lid, plug in the cooker, and press the appropriate cooking setting. If your Aroma model has a ‘White Rice’ or ‘Brown Rice’ button, use it accordingly. Now, let the cooker do its thing. Once it’s done, it’ll switch to ‘Keep Warm’ mode automatically. Let the rice sit for about 10 minutes before opening. This rest period allows the rice to settle and absorb any remaining moisture, ensuring fluffy perfection.
Part 4: Utilizing Advanced Features
Using the Timer Function
One of the niftiest features of your Aroma Rice Cooker is the timer function. This allows you to set when you want the rice cooking process to start. It’s perfect for those busy days when you want to come home to freshly cooked rice. Simply add your rice and water, set the timer for when you need it, and go about your day. Your Aroma Rice Cooker will start cooking at the specified time, ensuring your rice is ready exactly when you need it.
Exploring Different Cooking Modes
Aroma Rice Cookers often come with various cooking modes, making them versatile kitchen gadgets. Apart from cooking different types of rice, many models offer settings for steaming vegetables, cooking soups, and even baking cakes. Experiment with these modes to discover the full potential of your cooker. You’ll be amazed at how much more than just a rice cooker it can be!
Unveiling the Pastina Recipes and Cooking Tips” to offer you insights into other grain-based cooking methods.
Part 5: Tips and Tricks for Perfect Rice
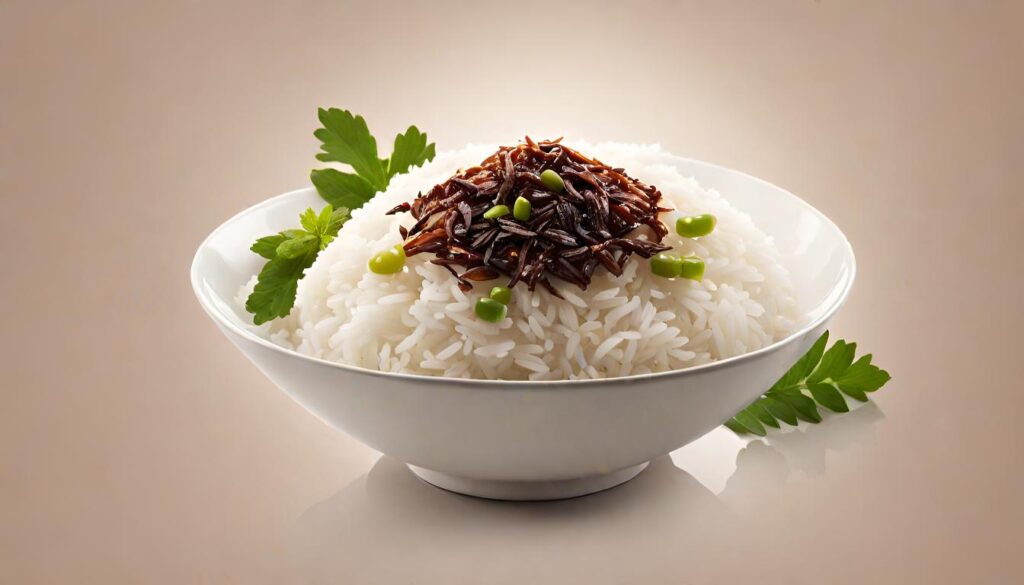
Best Practices for Fluffy Rice
Achieving that dreamy, fluffy rice texture is all about the details. First, consider rinsing your rice before cooking. This step removes excess starch, preventing clumpy or sticky results. Gently swish the rice in water and drain, repeating a few times until the water runs clear. Another tip is to let your cooked rice sit in the cooker for a bit after it’s done. This resting period allows the rice to steam further, enhancing its fluffiness.
“Mastering Basmati Rice Cooking: Tips for Fluffy and Fragrant Grains” for you interested in specific rice cooking techniques.
Common Mistakes to Avoid
A common pitfall in rice cooking is incorrect water measurements, leading to either too dry or overly mushy rice. Stick to the recommended ratios and adjust slightly according to your preference after a few trials. Also, resist the urge to peek while your rice is cooking. Opening the lid releases steam, which is crucial for even cooking. Lastly, avoid stirring the rice while it’s cooking, as this can break the grains and release more starch, leading to stickiness.
Part 6: Maintaining Your Aroma Rice Cooker
Cleaning After Use
Keeping your Aroma Rice Cooker clean is key to its longevity and performance. After each use, unplug the cooker and let it cool down. Remove the inner pot and wash it with warm, soapy water. For stubborn rice remnants, soak the pot for a few minutes before cleaning. The inner lid and steam vent can usually be detached for easier cleaning. Wipe the exterior and the heating plate with a damp cloth to keep them free of food debris.
kitchen appliance maintenance guide, like “How to Maintain Kitchen Appliances”
Long-term Maintenance Tips
To ensure your Aroma Rice Cooker serves you well for years, a little TLC is needed. Regularly check the power cord for any signs of wear or damage. If your model includes a condensation collector, empty and clean it after each use. Also, store your cooker in a dry place to prevent any moisture buildup. By following these simple maintenance steps, your rice cooker will remain a reliable kitchen companion.
Part 7: Frequently Asked Questions
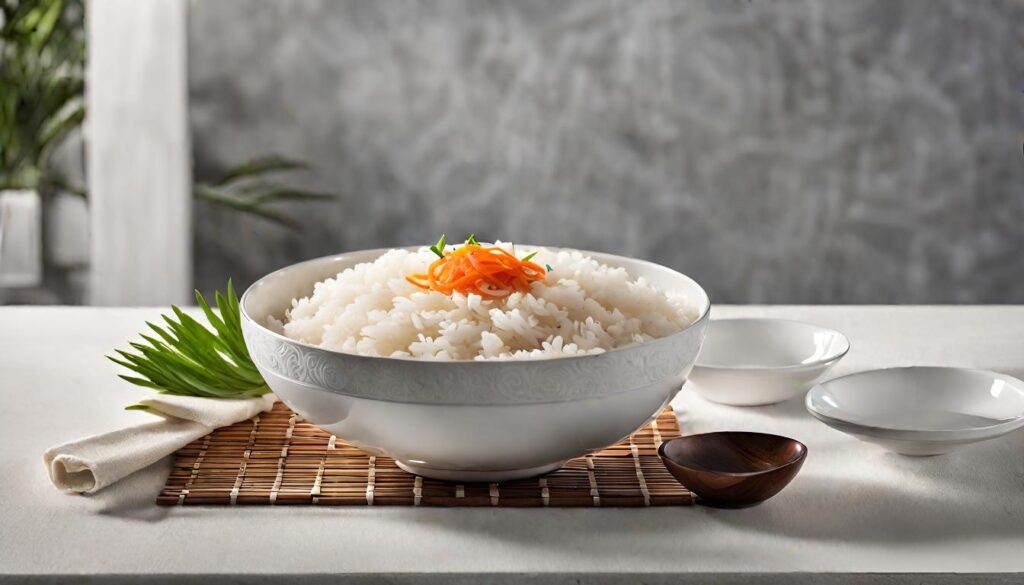
How to Cook Different Types of Rice
Q: Can I cook different types of rice in my Aroma Rice Cooker?
A: Absolutely! Your Aroma Rice Cooker is versatile enough to handle various types of rice. For white rice, use the standard water-to-rice ratio and the ‘White Rice’ setting. For brown rice, increase the water slightly and use the ‘Brown Rice’ setting if available. You can even venture into cooking sushi rice, basmati, jasmine, and more – just adjust the water ratios and settings accordingly.
Troubleshooting Common Issues
Q: What should I do if my rice is too dry or too wet?
A: If your rice is consistently too dry, try adding a little more water. For rice that’s too wet, reduce the water slightly. It’s often a matter of fine-tuning the water-to-rice ratio to suit your specific taste and the type of rice you’re using.
Q: Why does my rice cooker overflow sometimes?
A: Overflowing can happen if there’s too much water, the rice wasn’t rinsed (leading to excess starch), or if the cooker is overfilled. Make sure to use the correct ratios and not exceed the maximum fill line.
Part 8: Conclusion
Final Thoughts on Aroma Rice Cookers
As we wrap up this guide, it’s clear that the Aroma Rice Cooker is more than just a simple kitchen appliance. It’s a versatile, efficient, and reliable tool that can elevate your cooking experience. From cooking the perfect fluffy rice to experimenting with different grains and recipes, your Aroma Rice Cooker is there to make your culinary journey easier and more enjoyable.
Encouraging User Experimentation
Now that you’re equipped with the know-how of using your Aroma Rice Cooker, it’s time to get creative! Don’t hesitate to experiment with different types of rice, grains, and even recipes beyond rice. Each Aroma Rice Cooker model has its unique features, so explore them and make the most out of this fantastic kitchen gadget.
Remember, cooking is not just about following recipes – it’s about creating, experimenting, and having fun. Your Aroma Rice Cooker is a companion in this creative journey, so embrace the possibilities and let your culinary creativity flourish!
We hope this guide has been informative and helpful in getting you started with your Aroma Rice Cooker. Happy cooking, and enjoy the delicious results!


Comments are closed.