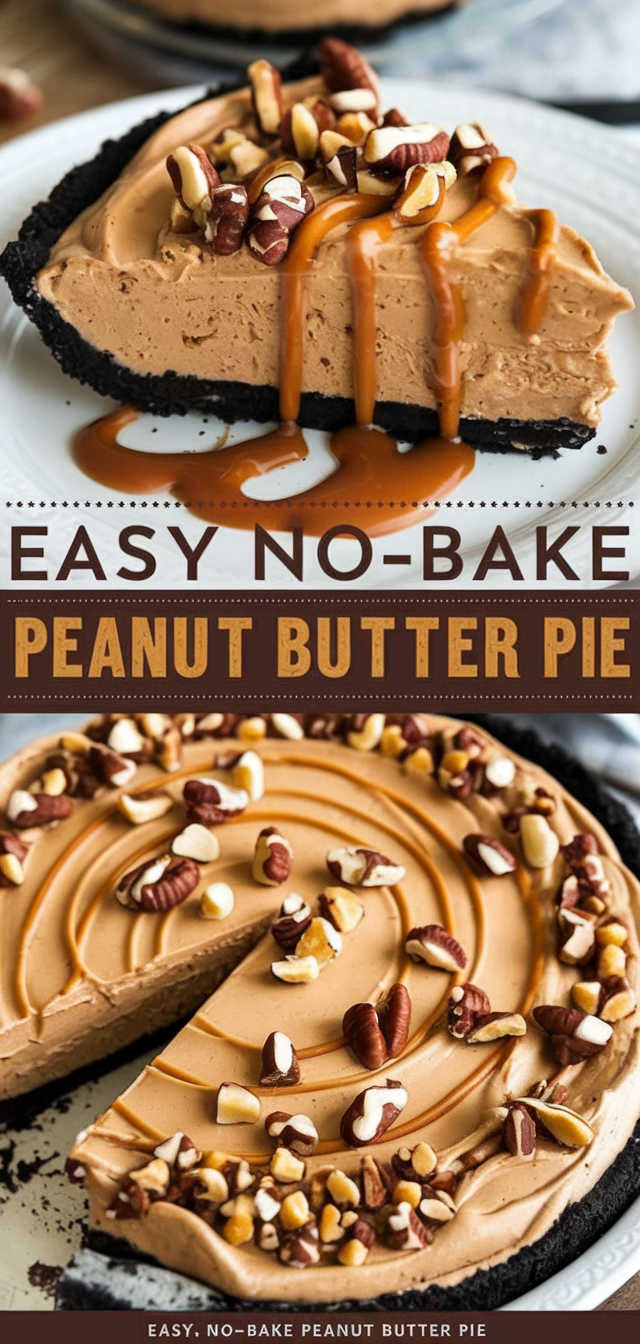
This Easy No-Bake Peanut Butter Pie is a creamy, decadent dessert that’s perfect for any occasion. Whether you’re a peanut butter fanatic or simply looking for a no-fuss treat that will impress, this pie has it all: a rich and velvety peanut butter filling, a chocolatey Oreo crust, and a drizzle of caramel and chocolate sauce for an extra layer of indulgence. The best part? You don’t even need to turn on your oven!
Ideal for summer barbecues, potlucks, or just because, this no-bake pie comes together in minutes and requires only a few simple ingredients. It’s a show-stopper dessert that’s guaranteed to leave everyone asking for seconds.
Why You’ll Love This Recipe
- No Baking Required: Perfect for those hot days when you don’t want to use the oven.
- Quick and Easy: Takes just 15 minutes to prepare.
- Rich and Creamy: The peanut butter filling is silky smooth and full of flavor.
- Crowd-Pleaser: A dessert that both kids and adults will love.
- Make-Ahead Friendly: Prepare it a day in advance for stress-free entertaining.
Ingredients
For the Crust:
- 24 Oreo cookies, finely crushed
- 5 tablespoons unsalted butter, melted
For the Filling:
- 1 cup creamy peanut butter (not natural or oily varieties)
- 8 ounces cream cheese, softened
- 1 cup powdered sugar
- 1 teaspoon vanilla extract
- 1 ½ cups heavy whipping cream, whipped to stiff peaks (or 1 container of whipped topping)
For Toppings (Optional but Recommended):
- Chocolate syrup or melted chocolate, for drizzling
- Caramel sauce, for drizzling
- Chopped peanuts, for garnish
- Mini chocolate chips or Reese’s pieces, for extra crunch
Step-by-Step Instructions
1. Prepare the Crust
- In a medium bowl, mix the crushed Oreos and melted butter until the crumbs are evenly moistened.
- Press the mixture firmly into the bottom and up the sides of a 9-inch pie dish, creating an even layer.
- Place the crust in the freezer to set while you prepare the filling.
2. Make the Peanut Butter Filling
- In a large mixing bowl, beat the peanut butter, cream cheese, powdered sugar, and vanilla extract together until smooth and creamy.
- Fold in the whipped cream (or whipped topping) gently, ensuring it’s fully combined without deflating the mixture.
3. Assemble the Pie
- Pour the peanut butter filling into the chilled Oreo crust and spread it into an even layer.
- Smooth the top with a spatula for a polished look.
4. Chill the Pie
- Cover the pie loosely with plastic wrap and refrigerate for at least 4 hours, or until set. For best results, chill overnight.
5. Add the Finishing Touches
- Before serving, drizzle the pie with chocolate syrup and caramel sauce. Sprinkle chopped peanuts and mini chocolate chips over the top for extra texture and flavor.
Serving Suggestions
This pie is incredibly versatile when it comes to presentation. Here are some fun serving ideas:
- Classic Slice: Serve chilled with an extra drizzle of caramel and chocolate syrup.
- Mini Pies: Use a muffin tin to create individual portions with the same crust and filling.
- Frozen Treat: For a summer twist, freeze the pie and serve it as a semi-frozen dessert.
Tips for Success
- Crust Consistency: Make sure the Oreo crumbs are finely crushed for a firm crust. You can use a food processor or place the cookies in a zip-top bag and crush them with a rolling pin.
- Softened Cream Cheese: Allow the cream cheese to soften to room temperature for easier blending and a smooth texture.
- Whipped Cream: If making your own whipped cream, whip it just until stiff peaks form. Overwhipping can make it grainy.
- Chill Time: Don’t rush the chilling process! Letting the pie set ensures it slices cleanly and holds its shape.
Recipe Variations
- Nut-Free Option: Substitute the peanut butter with cookie butter or sunflower seed butter for a nut-free dessert.
- Gluten-Free Version: Use gluten-free sandwich cookies for the crust.
- Chocolate Lover’s Twist: Add a layer of melted chocolate on top of the crust before adding the peanut butter filling.
- Banana-Peanut Butter Pie: Add a layer of sliced bananas on top of the crust for a fruity surprise.
Nutritional Information (Per Slice)
- Calories: 420
- Protein: 9g
- Carbs: 28g
- Fat: 33g
- Fiber: 2g
(Note: Nutritional values may vary based on ingredients used.)
Storage and Make-Ahead Tips
- Refrigerate: Store leftover pie in the refrigerator, covered with plastic wrap, for up to 4 days.
- Freeze: For longer storage, wrap the pie tightly in plastic wrap and aluminum foil, then freeze for up to 1 month. Thaw in the refrigerator before serving.
- Make Ahead: This pie is a fantastic make-ahead dessert! Assemble it the day before your event and simply add the toppings right before serving.
The Origins of No-Bake Pies
No-bake pies gained popularity in the mid-20th century as a quick and easy dessert option for busy households. Peanut butter pie, in particular, has Southern roots, where peanut butter has long been a pantry staple. By combining the convenience of no-bake desserts with the rich, nutty flavor of peanut butter, this recipe has become a beloved classic across the U.S.
Perfect Pairings
This pie pairs beautifully with a variety of beverages and accompaniments:
- Coffee: Serve with a hot cup of coffee or espresso for a classic dessert pairing.
- Milkshake: A tall glass of vanilla or chocolate milkshake makes this pie even more indulgent.
- Cocktail: Pair with a peanut butter whiskey or a Baileys dessert cocktail for an adult treat.
Seasonal Tips
This no-bake pie is perfect for warm-weather events like barbecues, picnics, and pool parties. In the cooler months, add a sprinkle of cinnamon or nutmeg to the filling for a cozy flavor twist.


