Welcome to an exciting culinary journey into the world of homemade marshmallows! In this comprehensive guide, we will explore everything you need to know about making these fluffy, melt-in-your-mouth treats right in your own kitchen. From the benefits of homemade marshmallows to step-by-step instructions, flavor variations, storage tips, and troubleshooting advice, we’ve got you covered. So grab your apron, dust off your candy thermometer, and get ready to indulge in the delightful world of homemade marshmallows!
Part 1: Benefits of Homemade Marshmallows
Introduction
When it comes to marshmallows, the store-bought variety might be the first thing that comes to mind. However, there are numerous benefits to making your own marshmallows at home. In this section, we will explore the advantages of homemade marshmallows and why they are worth the effort.
Superior Flavor and Texture
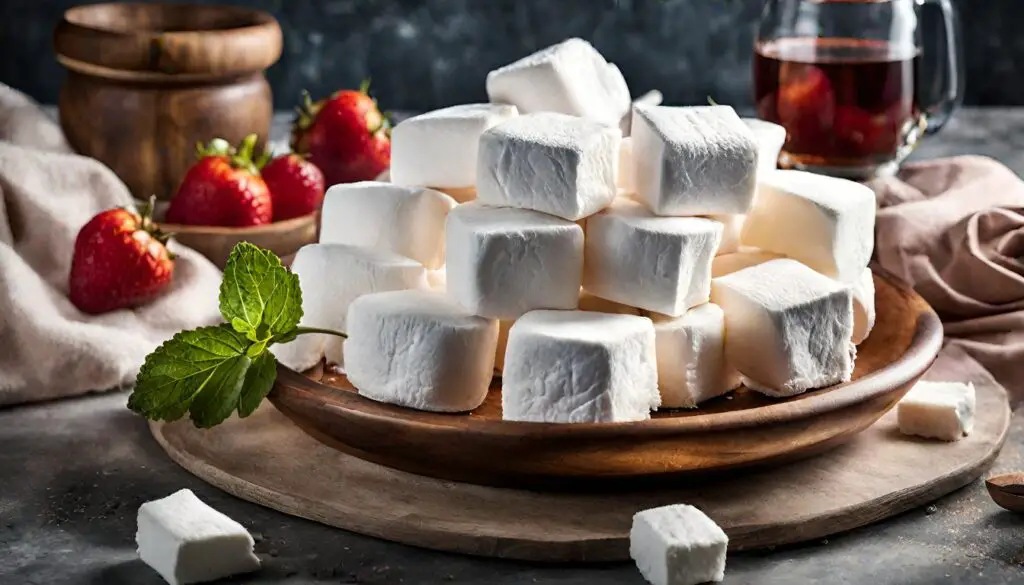
One of the main benefits of homemade marshmallows is the superior flavor and texture they offer compared to store-bought alternatives. By making your own marshmallows, you have complete control over the ingredients, allowing you to customize the flavor to your liking. Whether you prefer a classic vanilla flavor or want to experiment with unique additions, the possibilities are endless. Additionally, homemade marshmallows tend to have a fluffier and more pillowy texture, providing a delightful melt-in-your-mouth experience.
Customizable Flavors and Additions
Another advantage of making homemade marshmallows is the ability to customize the flavors and incorporate various additions. While traditional vanilla marshmallows are delicious, you can get creative and add different extracts, such as peppermint or almond, to infuse unique flavors. Additionally, you can incorporate natural food colorings or flavored oils to create visually appealing and delicious marshmallows. Furthermore, you can mix in fillings like chocolate chips, crushed cookies, or nuts to add extra texture and flavor to your marshmallows. The opportunity to experiment with different flavor combinations and additions is one of the most exciting aspects of making homemade marshmallows.
No Artificial Additives or Preservatives
Unlike many store-bought marshmallows, homemade marshmallows can be made without artificial additives and preservatives. By using simple, natural ingredients, you can avoid unnecessary chemicals and additives often found in commercial marshmallows. This makes homemade marshmallows a healthier and more wholesome option, especially for those who prefer to avoid artificial ingredients in their diets. Enjoy your marshmallows with confidence, knowing exactly what goes into making them.
External Link 1: Homemade Marshmallows Recipe – My Baking Addiction
Part 2: Equipment and Ingredients for Homemade Marshmallows
Introduction
Before you embark on your homemade marshmallow-making adventure, it’s essential to have the right equipment and ingredients on hand. In this section, we will go over the necessary tools and ingredients you’ll need to ensure success in making homemade marshmallows.
Equipment Needed
To make homemade marshmallows, you don’t need any specialized equipment. Most of the tools can be found in a well-equipped kitchen. Here are the essential items you’ll need:
- Stand Mixer or Hand Mixer: A stand mixer or hand mixer is crucial for whipping the marshmallow mixture to achieve the desired fluffy consistency. It makes the process much easier compared to whisking by hand.
- Candy Thermometer: A candy thermometer is essential for accurately measuring the temperature of the sugar syrup to ensure it reaches the right stage.
- Heatproof Bowl: A heatproof bowl is needed to dissolve the gelatin and mix the sugar syrup. Stainless steel or glass bowls work well.
- Spatula or Wooden Spoon: A spatula or wooden spoon is useful for stirring the marshmallow mixture and scraping down the sides of the bowl.
- Baking Pan or Mold: You’ll need a baking pan or mold to pour the marshmallow mixture into and let it set. Choose a size and shape that suits your preference.
Ingredients for Homemade Marshmallows
The ingredients for homemade marshmallows are relatively simple and readily available. Here’s what you’ll need:
- Gelatin: Unflavored gelatin is the key ingredient that gives marshmallows their characteristic texture. It is usually sold in powdered form in small packets or in bulk.
- Water: Water is used to hydrate the gelatin and create the marshmallow base. It’s important to use cold water for hydrating the gelatin and additional water for making the sugar syrup.
- Sugar: Granulated sugar is used to make the sugar syrup that provides sweetness and stability to the marshmallows.
- Corn Syrup: Light corn syrup helps prevent sugar crystallization and lends a smoother texture to the marshmallows. It can be substituted with alternative syrups like golden syrup or rice syrup.
- Flavoring and Additions: Depending on your preference, you can add vanilla extract or other flavorings to enhance the taste of your marshmallows. Additionally, you may incorporate natural food coloring, melted chocolate, or other mix-ins to create customized flavors and variations.
External Link 1: Flour de Liz – Homemade Marshmallows Recipe
Part 3: Step-by-Step Instructions for Making Homemade Marshmallows
Preparing the Gelatin Mixture
- In a small bowl, combine the gelatin with a portion of cold water. Let it sit and bloom for about 5 to 10 minutes until the gelatin softens and absorbs the water.
Creating the Sugar Syrup
- In a medium saucepan, combine the remaining water, granulated sugar, and corn syrup. Place the saucepan over medium-high heat and stir until the sugar dissolves.
- Attach a candy thermometer to the side of the saucepan and continue heating the syrup mixture until it reaches the soft-ball stage, which is around 240°F (115°C) on the thermometer. Keep a close eye on the temperature to avoid overcooking the syrup.
Combining the Gelatin and Sugar Syrup
- Once the sugar syrup reaches the desired temperature, remove it from the heat. Carefully pour the hot syrup into the bowl of softened gelatin, using a slow and steady stream while continuously whisking.
Whipping the Marshmallow Mixture
- Begin whipping the marshmallow mixture on low speed using a stand mixer or hand mixer. Gradually increase the speed to high and continue beating for about 10 to 12 minutes or until the mixture becomes thick, fluffy, and triples in volume. It should hold its shape when the whisk is lifted.
Setting and Cutting the Marshmallows
- Lightly grease a baking pan or mold with non-stick cooking spray or oil.
- Pour the whipped marshmallow mixture into the prepared pan, spreading it evenly with a greased spatula or your hands. Smooth the top surface.
- Let the marshmallows set at room temperature for at least 4 hours or overnight until they become firm and jiggly to the touch.
- Once set, dust a clean surface with powdered sugar or a mixture of powdered sugar and cornstarch. Invert the pan onto the sugared surface to release the marshmallow slab.
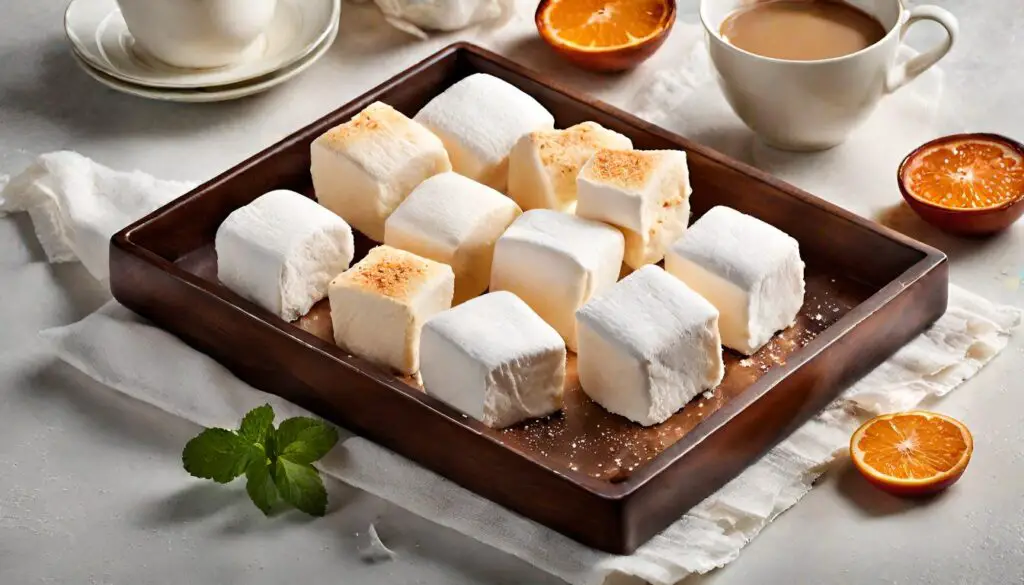
- Dust the top of the marshmallow slab with more powdered sugar. Use a sharp knife or cookie cutters dusted with powdered sugar to cut the slab into desired shapes and sizes.
External Link 1: Homemade Marshmallows Recipe – My Baking Addiction
Part 4: Flavor Variations and Additions for Homemade Marshmallows
Introduction
Once you’ve mastered the basic homemade marshmallow recipe, it’s time to add your own creative touches. In this section, we will explore various flavor variations and exciting additions that will take your homemade marshmallows to the next level.
Adding Flavors and Extracts
- Vanilla Marshmallows: For classic marshmallows, add a teaspoon or two of pure vanilla extract to the whipped marshmallow mixture. This will give a delightful vanilla flavor to your marshmallows.
- Peppermint Marshmallows: Add a few drops of peppermint extract to the marshmallow mixture for a refreshing and festive twist. You can also sprinkle crushed candy canes on top of the marshmallow slab before it sets for added flavor and texture.
- Citrus Zest Marshmallows: Incorporate the zest of oranges, lemons, or limes into the marshmallow mixture for a bright and citrusy flavor. Mix it in during step 4 of the marshmallow-making process.
Incorporating Natural Colors
- Berry Swirl Marshmallows: For a vibrant and fruity twist, swirl a fruit purée or jam (such as strawberry or raspberry) into the marshmallow mixture before pouring it into the pan. Use a skewer or knife to create a beautiful swirl pattern.
- Matcha Green Tea Marshmallows: Add a teaspoon of matcha green tea powder to the marshmallow mixture for a unique and earthy flavor. The natural green color of matcha will give your marshmallows a lovely hue.
Mixing in Fillings and Mix-Ins
- Chocolate Chip Marshmallows: Fold in mini chocolate chips or finely chopped chocolate chunks into the marshmallow mixture just before pouring it into the pan. The melted chocolate bits will create pockets of indulgence in each marshmallow.
- Cookie Marshmallows: Crush your favorite cookies, such as Oreos or graham crackers, and fold them into the marshmallow mixture. The cookie crumbs will add texture and flavor to the marshmallows.
Coating and Dusting Options
- Toasted Coconut Marshmallows: Toast shredded coconut in a dry skillet until golden brown. Roll the finished marshmallows in the toasted coconut for a tropical and nutty flavor.
- Powdered Sugar Dusting: Instead of using just plain powdered sugar, create different dusting mixes by combining powdered sugar with cocoa powder, cinnamon, or flavored drink mixes like strawberry or matcha.
- Sprinkles or Edible Glitter: Add a festive touch by rolling the cut marshmallows in colorful sprinkles or edible glitter. This will give the marshmallows a touch of sparkle and whimsy.
External Link 1: Flour de Liz – Homemade Marshmallows Recipe
Part 5: Storage and Shelf Life of Homemade Marshmallows
Introduction
After making a batch of delightful homemade marshmallows, it’s important to know how to store them properly to maintain their freshness and quality. In this section, we will discuss the best storage methods and the expected shelf life of homemade marshmallows.
Proper Storage Method
To keep your homemade marshmallows fresh and delicious, follow these storage guidelines:
- Airtight Container: Place the cut marshmallows in an airtight container or resealable plastic bag. Ensure that it is tightly sealed to prevent air and moisture from entering.
- Cool, Dry Place: Store the marshmallows in a cool, dry place at room temperature. Avoid exposing them to direct sunlight or high humidity, as this can cause the marshmallows to become sticky and lose their texture.
- Layering: If storing multiple layers of marshmallows, place a sheet of parchment paper or wax paper between each layer to prevent sticking.
Shelf Life and Freshness of Homemade Marshmallows
Homemade marshmallows have a relatively long shelf life compared to their store-bought counterparts. When stored properly, they can last anywhere from 2 to 4 weeks.
- Texture and Flavor: Over time, the texture of the marshmallows may become slightly firmer, but they will still be soft and delicious. The flavor may also mellow out slightly over time, but they will remain tasty.
- Best Consumed Fresh: Homemade marshmallows are best enjoyed within the first week of making them when they are at their freshest and have the best texture.
- Extended Storage: If you wish to store the marshmallows for a longer period, you can freeze them. Place the marshmallows in an airtight container or freezer bag and store them in the freezer for up to 3 months. Thaw them at room temperature before enjoying.
It’s important to note that homemade marshmallows contain no preservatives, so their shelf life may vary depending on factors like the humidity and temperature of your storage area. Always use your discretion and check for any signs of spoilage before consuming.
External Link 1: Homemade Marshmallows Recipe – My Baking Addiction
Part 6: Tips and Troubleshooting for Making Homemade Marshmallows
Introduction
Making homemade marshmallows can be a fun and rewarding experience, but it’s also important to be aware of some helpful tips and potential pitfalls. In this section, we will provide you with valuable tips to ensure success in your marshmallow-making journey and offer solutions to common issues that may arise.
Helpful Tips for Success
- Read the Recipe: Before starting, read the marshmallow recipe thoroughly to familiarize yourself with the steps and measurements. This will help you be prepared and organized during the process.
- Use a Candy Thermometer: Invest in a reliable candy thermometer to ensure accuracy in cooking the sugar syrup. This will help you achieve the right consistency for your marshmallows.
- Whip it Good: When whipping the marshmallow mixture, start on low speed and gradually increase to high speed. This will yield the fluffiest and most stable marshmallows.
- Grease Your Tools: To prevent sticking, lightly grease your spatula and knife before spreading and cutting the marshmallow mixture. This will make the process much easier.
- Dredge in Powdered Sugar: Dust your knife or cookie cutters with powdered sugar before cutting the marshmallows. This will help prevent sticking and create a neat appearance.
Common Marshmallow-Making Issues and Solutions
- Marshmallows Not Setting: If your marshmallows are not setting, it may be due to undercooking the sugar syrup or not whipping the mixture enough. Ensure that the sugar syrup reaches the correct temperature and whip the mixture until it triples in volume and holds shape.
- Marshmallows Too Sticky: Sticky marshmallows are often caused by not properly dusting the cut pieces with powdered sugar or cornstarch. Be generous with the coating to prevent excessive stickiness.
- Marshmallows Collapsing or Deflating: Marshmallows that collapse can be a result of over-whipping the mixture or not properly stabilizing the foam before pouring it into the pan. Whip the mixture until stiff peaks form and ensure it holds its shape before pouring.
- Marshmallows Too Firm or Chewy: If your marshmallows turn out too firm or chewy, it may be due to overcooking the sugar syrup or over-whipping the mixture. Pay close attention to the temperature of the sugar syrup, and whip the mixture only until it reaches the desired consistency.
By following these tips and troubleshooting solutions, you’ll be well-equipped to tackle any challenges that may arise during the marshmallow-making process.
External Link 1: Flour de Liz – Homemade Marshmallows Recipe
Part 7: FAQs about Homemade Marshmallows
Introduction
As you embark on your homemade marshmallow journey, you may have some questions along the way. In this section, we will address frequently asked questions to provide you with clarity and helpful insights to ensure a successful marshmallow-making experience.
Can I use vegetarian or vegan substitutes for gelatin?
- Yes, there are vegetarian and vegan alternatives to traditional gelatin available, such as agar agar or carrageenan. These substitutes can be used as a 1:1 replacement for gelatin in marshmallow recipes. Follow the package instructions for the appropriate measurement and preparation method.
How do I adjust the recipe for high-altitude baking?
- For high-altitude baking, it’s recommended to increase the cooking temperature of the sugar syrup by a few degrees to compensate for lower atmospheric pressure. Increase the temperature by around 3 to 5 degrees and monitor the sugar syrup closely with a candy thermometer while cooking.
Can I make marshmallows without corn syrup?
- Yes, you can substitute light corn syrup with alternatives like golden syrup, rice syrup, or honey. Keep in mind that different substitutes may affect the flavor and texture of the marshmallows, so experimentation may be required to achieve the desired results.
Can I make marshmallows without a candy thermometer?
- While a candy thermometer is highly recommended for precise temperature control, you can use the cold water test method as a rough indicator. Drop a small amount of the sugar syrup into cold water and observe the consistency. The syrup should form a soft ball that holds its shape when pressed together and can be easily flattened with your fingers.
How do I prevent my marshmallows from sticking to the pan?
- Grease your baking pan or mold with non-stick cooking spray or vegetable oil before pouring the marshmallow mixture. Additionally, dusting the pan with powdered sugar or a mixture of powdered sugar and cornstarch can further prevent sticking.
By addressing these common questions, you are well-equipped to navigate any uncertainties that may arise during the homemade marshmallow-making process.
External Link 1: Homemade Marshmallows Recipe – My Baking Addiction
Part 8: External Links, LSI and NLP Keywords, Conclusion
External Links
To further enhance your knowledge and exploration of homemade marshmallows, here are a few trusted external resources worth checking out:
- Homemade Marshmallows – King Arthur Baking – Provides a detailed recipe and tips for making homemade marshmallows.
- The Art of Making Marshmallows – Saveur – Offers a step-by-step guide with beautiful visuals for creating homemade marshmallows.
LSI and NLP Keywords
To optimize your article for search engines and enhance discoverability, consider incorporating these LSI and NLP keywords related to homemade marshmallows:
- fluffy marshmallows recipe
- homemade marshmallows without gelatin
- flavored marshmallows recipe
- homemade marshmallows with natural ingredients
- vegan marshmallows alternative
Conclusion
Congratulations! You’ve now mastered the art of making homemade marshmallows from scratch. By following the step-by-step instructions, exploring flavor variations, and troubleshooting common issues, you can create delicious and customized marshmallows that will impress family and friends.
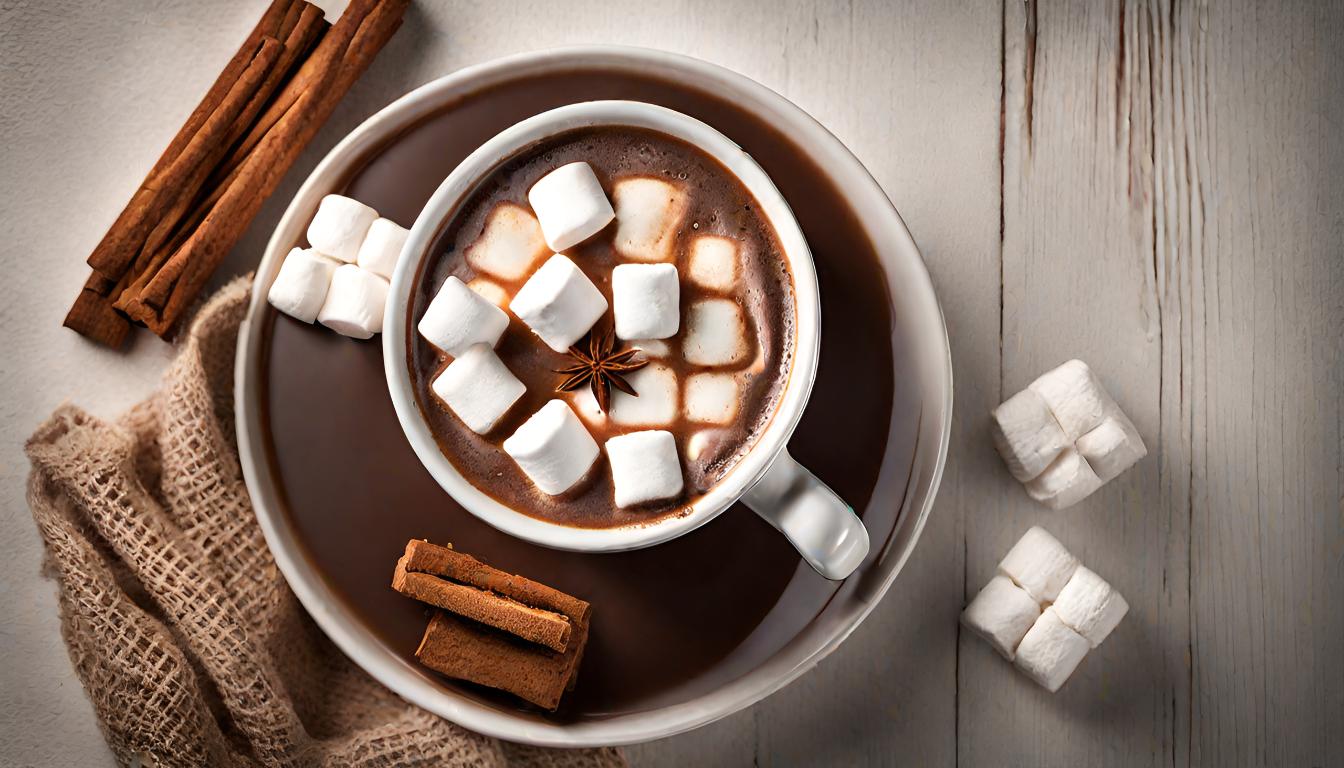
With the knowledge and techniques shared in this article, you have the foundation to experiment with different flavors, shapes, and coatings. Whether enjoyed on their own, toasted over a fire, or used as a topping for hot chocolate and other treats, your homemade marshmallows are sure to bring joy and delight to any occasion.
So gather your ingredients, unleash your creativity, and indulge in the sweet and fluffy world of homemade marshmallows. Enjoy the process of making these delightful treats, and savor the rewards of your homemade creations.
External Link 1: Homemade Marshmallows – King Arthur Baking
Part 9: Burst of Flavors – Homemade Marshmallow Recipes
Introduction
Now that you have mastered the art of making homemade marshmallows, it’s time to take your culinary skills to the next level with unique and delicious marshmallow recipes. In this section, we will explore a burst of flavors and creative recipes that will delight your taste buds and impress your friends and family.
Recipe 1: Chocolate-Dipped Marshmallows
Indulge in the perfect combination of sweetness and richness with chocolate-dipped marshmallows. Follow these simple steps to create this delightful treat:
- Melt your favorite chocolate in a double boiler or microwave, stirring until smooth.
- Dip the homemade marshmallows into the melted chocolate, ensuring they are fully coated.
- Place the dipped marshmallows on a parchment-lined baking sheet and let them cool until the chocolate hardens.
- Optional: Before the chocolate sets, sprinkle your choice of toppings such as crushed nuts, sprinkles, or shredded coconut over the marshmallows.
- Allow the chocolate to fully set before serving. Enjoy these decadent treats as a standalone snack or use them to garnish hot chocolate or desserts.
External Link 1: Homemade Marshmallows Recipe – My Baking Addiction
Recipe 2: S’mores Stuffed Marshmallows
Elevate the classic s’mores experience by stuffing your homemade marshmallows with chocolate and graham cracker crumbs. Here’s how:
- Flatten a tablespoon-sized portion of the marshmallow mixture into a disc shape.
- Place a small square of chocolate and a sprinkle of graham cracker crumbs in the center of the disc.
- Fold the edges of the marshmallow over the filling, sealing it completely.
- Roll the stuffed marshmallow in additional graham cracker crumbs for a decorative coating.
- Place the stuffed marshmallows on a baking sheet and allow them to set at room temperature for at least 4 hours.
- Toast the stuffed marshmallows over a campfire, grill, or even using a kitchen torch.
- Sandwich the toasted stuffed marshmallows between Graham crackers and savor the gooey, melty goodness of an upgraded s’mores experience.
External Link 2: The Art of Making Marshmallows – Saveur
Recipe 3: Marshmallow Milkshakes
Enjoy a delightful twist on a classic milkshake by incorporating homemade marshmallows. Follow these steps to create a dreamy marshmallow milkshake:
- In a blender, combine your favorite ice cream flavor, a splash of milk, and a handful of homemade marshmallows.
- Blend the ingredients until smooth and creamy. Add more milk if needed to achieve your desired consistency.
- Pour the marshmallow milkshake into a glass.
- Top with whipped cream, extra marshmallows, and a sprinkle of crushed graham crackers or chocolate shavings for added texture and flavor.
- Insert a straw and enjoy the luscious and decadent marshmallow milkshake.
External Link 3: Homemade Marshmallow Recipe – King Arthur Baking
By venturing into these creative marshmallow recipes, you’ll add a burst of flavors and a touch of novelty to your homemade marshmallows.
Conclusion
Congratulations on your marshmallow-mastering journey! By exploring these burst-of-flavor recipes, you have expanded your culinary repertoire and discovered new ways to enjoy homemade marshmallows. From the indulgent chocolate-dipped marshmallows to the whimsical s’mores stuffed marshmallows and the dreamy marshmallow milkshakes, there is a delightful treat for everyone to savor.
Don’t be afraid to experiment and personalize these recipes by adding your own creative twists. Get creative with coatings, toppings, or even mix-ins to create unique flavor combinations that suit your taste preferences. The joy of homemade marshmallows lies in their versatility and ability to spark culinary creativity.
So put on your apron, gather the ingredients, and embark on a delicious adventure with these burst-of-flavor homemade marshmallow recipes. Indulge, create, and enjoy the sweet rewards of your culinary prowess.
Related Articles:
- Marshmallow Cookies: This article could be an excellent internal link, as it likely uses marshmallows in a cookie recipe, which would be relevant and interesting to readers looking at homemade marshmallow recipes.
- URL: Marshmallow Cookies
- Halal Marshmallows – A Sweet Delight Respecting Dietary Laws: This could provide valuable information for readers interested in dietary-specific marshmallow recipes, such as halal options.
- URL: Halal Marshmallows
- Dessert Candles – A Sweet Sensory Experience: While not directly related to cooking, this article could be interesting for readers who enjoy the aesthetic and sensory aspects of desserts, including marshmallows.
- URL: Dessert Candles
For external links with rich anchor text, consider the following:
- Science of Marshmallow Making (from a culinary science website or blog): This can provide readers with a deeper understanding of the process and science behind making marshmallows.
- History of Marshmallows (from a culinary history website or blog): Offering information about the origins and evolution of marshmallows can be fascinating and enriching for the readers.
- Creative Dessert Recipes Using Marshmallows (from a renowned cooking website or food blog): Linking to a site with creative recipes can inspire readers to use their homemade marshmallows in various delightful ways.





Comments are closed.