

Olive bread, a delightful fusion of savory flavors and artisan baking techniques, has been tantalizing taste buds across various cultures. This article dives deep into the world of olive bread, exploring everything from the essential ingredients and preparation techniques to serving suggestions and common baking pitfalls. Whether you’re a seasoned baker or a curious novice, this comprehensive guide will walk you through the art of creating the perfect loaf of olive bread. So, let’s get our hands floury and embark on this delicious journey!
Introduction to Olive Bread
What is Olive Bread?
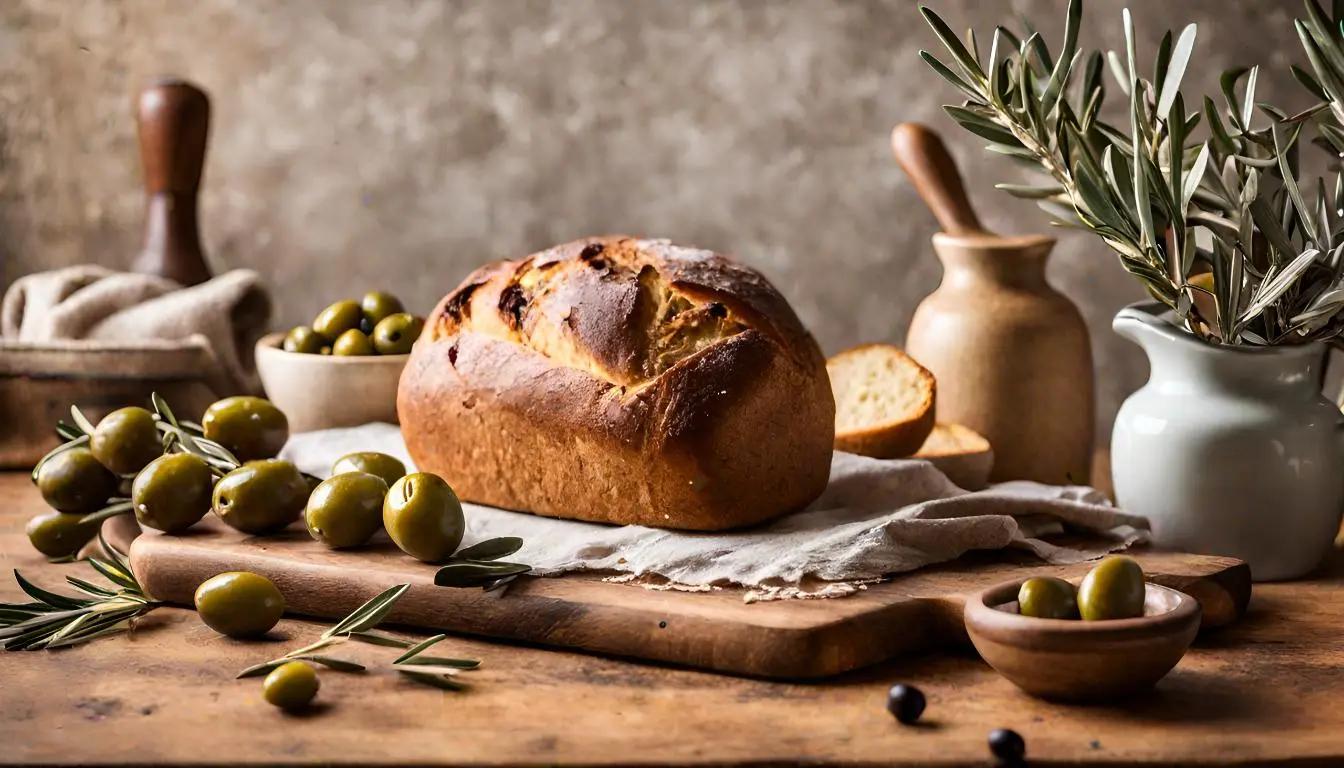
Olive bread is more than just a loaf; it’s a culinary masterpiece that blends the rustic charm of traditional bread with the rich, tangy flavors of olives. This bread, often characterized by its crusty exterior and soft, flavorful interior, is a staple in Mediterranean cuisine but has won hearts globally. It’s not just about the taste; olive bread is a symbol of simplicity meeting elegance.
Popularity and Cultural Significance
The popularity of olive bread stretches far and wide, transcending cultural boundaries. It’s not just a bread; it’s a story of tradition, shared at family tables and in bustling marketplaces. In Mediterranean countries, olive bread is often a reflection of the region’s love for olives and artisanal baking. Each loaf tells a tale of the land, the climate, and the people who cherish these flavors. It’s not just food; it’s a piece of cultural heritage, savored in every bite.
“Mastering Basmati Rice: Cooking Tips for Fluffy and Fragrant Grains” provide you with another example of a culturally significant dish.
As we delve further into the nuances of olive bread, from its nutritional profile to the common mistakes in baking, remember that this isn’t just about following a recipe. It’s about embracing a culinary tradition that has been passed down through generations, a tradition that you’re now a part of. So, let’s roll up our sleeves and start this flavorful adventure!
Ingredients and Substitutions
Essential Ingredients
The journey to a perfect loaf of olive bread begins with selecting the right ingredients. The foundation of this bread is, unsurprisingly, flour and yeast. Bread flour is the star here, offering a chewier texture and stronger structure than all-purpose flour. It’s the backbone that supports the rich, savory olives – Kalamata or a mix of your favorite varieties. Instant yeast is the leavening agent that breathes life into the dough, ensuring a beautiful rise.
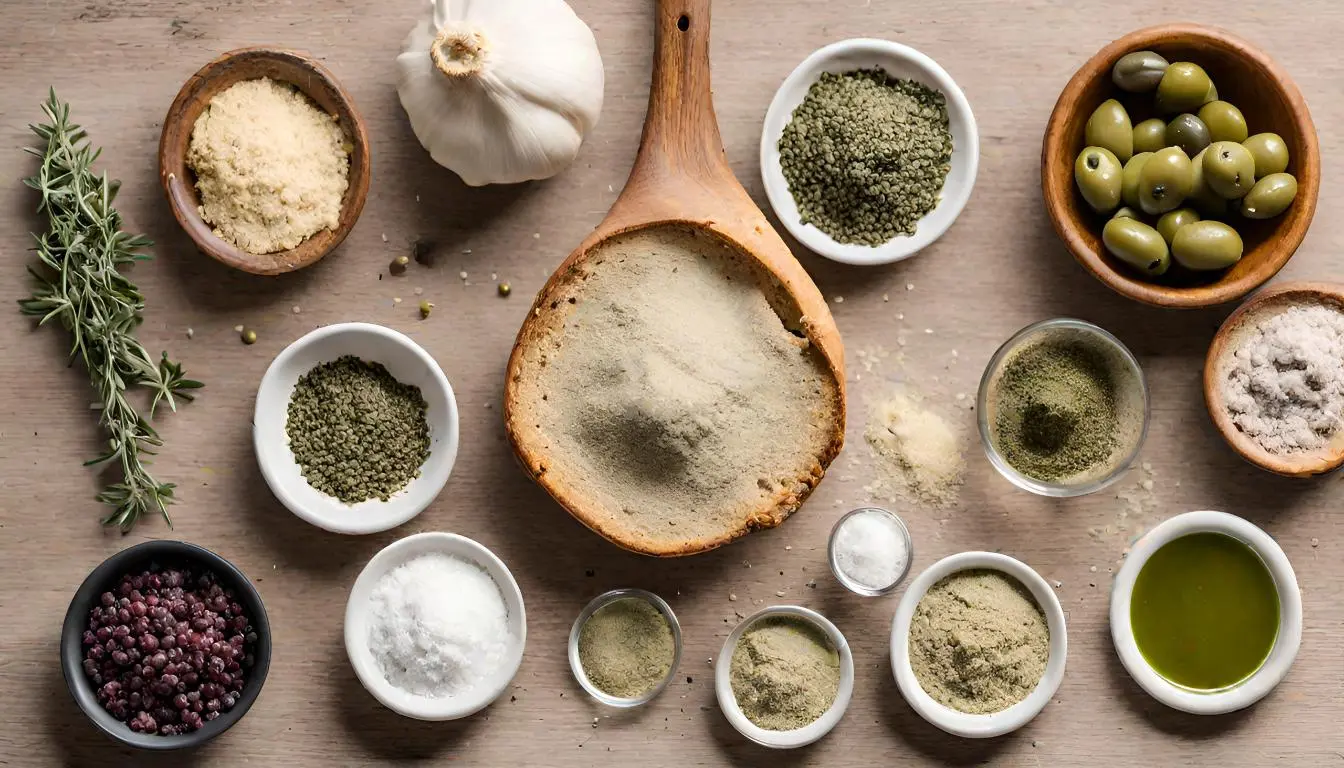
Next, we can’t forget about the seasoning. Coarse sea salt enhances the flavors, while a blend of dried oregano and garlic powder adds depth and a hint of Mediterranean essence. And of course, water – the unsung hero that binds all these elements together. It’s crucial to use water that’s cool to the touch, as this aids in developing a better flavor profile during the slow fermentation process.
“Crusty & Rustic Olive Loaf Bread Recipe” from Foolproof Living:Crusty & Rustic Olive Loaf Bread Recipe
Substitutions and Variations
Now, let’s talk about flexibility. While bread flour is ideal, all-purpose flour can pinch-hit in a bind. The texture might be slightly different, but the bread will still be delicious. For those looking to experiment, a portion of whole wheat flour can add a nutty flavor and denser texture.
Free Bagels: A Comprehensive Guide to Recipes & Tips” if you interested in gluten-free baking options.
Yeast is another area where you have options. If instant yeast isn’t available, active dry yeast can be used, though it might lengthen the rise time slightly. As for the olives, feel free to get creative! Mix and match different types to find your perfect blend. And if you’re feeling adventurous, why not throw in some roasted garlic or fresh herbs?
Remember, baking is as much about creativity as it is about precision. These substitutions and variations allow you to put your own spin on this classic recipe, making each loaf uniquely yours. So, don’t be afraid to experiment and find your perfect combination of flavors!
Preparation Techniques
Mixing and Kneading
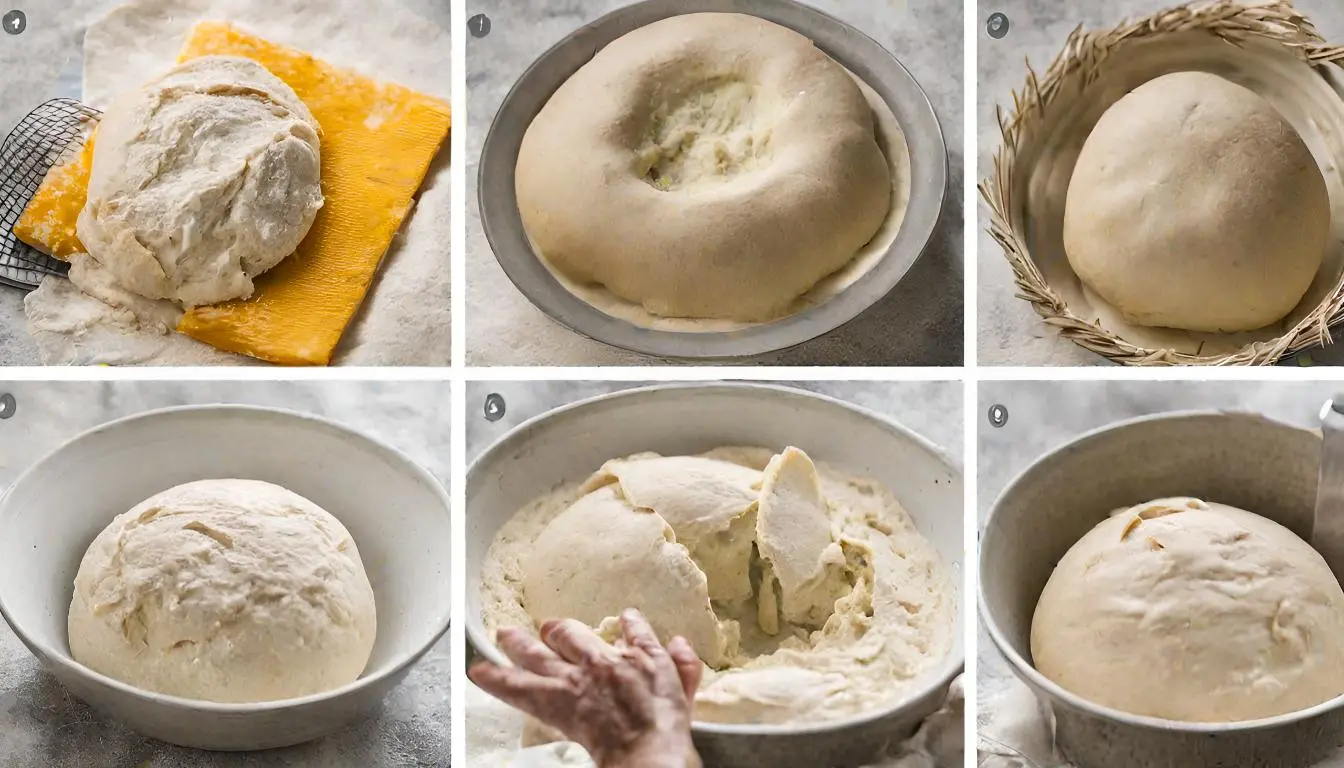
Creating the perfect olive bread starts with the art of mixing and kneading. First, whisk together the dry ingredients – flour, yeast, salt, oregano, and garlic powder – in a large bowl. This ensures an even distribution of flavors throughout the bread. Then, it’s time to add the olives and water. Mix them in until a shaggy dough forms. Here’s where the magic happens: no kneading is required! This bread embraces the no-knead method, making it perfect for bakers of all skill levels.
Proofing the Dough
Proofing, the process of letting the dough rise, is crucial for developing flavor and texture. Cover the dough and let it sit at room temperature for about 2-3 hours. You’ll know it’s ready when it has doubled in size and is dotted with air bubbles. For an even deeper flavor, you can let the dough rest in the refrigerator for up to 3 days. This slow fermentation will add complex flavors to your bread.
Shaping the Bread
Once proofed, it’s time to shape your bread. Dust your surface with flour and gently shape the dough into a round boule. Don’t worry about perfection; a rustic look is part of its charm. The dough will be sticky, but that’s normal. Just use floured hands to prevent sticking.
Baking Tips and Techniques
Baking is the final step in bringing your olive bread to life. Preheat your oven and decide whether you’ll use a baking sheet or a Dutch oven. Both methods work wonderfully, but a Dutch oven can create a beautifully crusty exterior. If using a baking sheet, sprinkle it with cornmeal or flour for an extra crunch. Score the top of your dough with a sharp knife or bread lame, then bake until golden brown.
“How to Use Aroma Rice Cooker” to offer you additional insights into using kitchen appliances effectively in cooking and baking.
Remember, every oven is different, so keep an eye on your bread as it bakes. When it’s done, it should sound hollow when tapped. Let it cool before slicing to allow the interior to set properly.
In this part of the journey, patience and attention to detail are your best friends. By following these steps, you’re well on your way to creating a loaf of olive bread that’s not just a treat for the taste buds but a feast for the eyes as well.
Nutritional Information
Caloric Content
Olive bread, while indulgent in flavor, is also a food to be mindful of in terms of caloric content. The exact calories in a slice will vary based on the ingredients and the size of the loaf, but it’s important to consider this aspect, especially for those monitoring their caloric intake. The combination of bread flour, olives, and olive oil contributes to the overall calorie count. However, it’s not just about the calories; it’s about the nutritional value these ingredients bring.

Health Benefits of Ingredients
The ingredients in olive bread are not just about taste; they offer a range of health benefits. Olives, the star of the show, are rich in healthy fats, antioxidants, and vitamins. They contribute to heart health and provide anti-inflammatory properties. Bread flour, while a source of carbohydrates, also contains protein and some essential nutrients. When consumed in moderation as part of a balanced diet, olive bread can be a delicious and health-conscious choice.
“Healthy Ninja Creami Recipes You Can’t Miss” to provide you with more healthy recipe options.
Understanding the nutritional profile of olive bread helps in appreciating not just its taste but also the nourishment it provides. It’s a reminder that good food can be both enjoyable and beneficial to our health. So, while savoring a slice of this delicious bread, you’re also giving your body some valuable nutrients.
Serving and Pairing Suggestions
Dips and Spreads
Olive bread, with its rich and savory profile, pairs wonderfully with a variety of dips and spreads. Imagine breaking into a warm, crusty loaf and dipping it into a luscious olive oil blend, seasoned with herbs and spices. Or perhaps, spread a layer of creamy hummus or tangy tapenade to complement the salty olives in the bread. These combinations not only enhance the flavors but also turn your olive bread into a versatile component of any meal.

Meal Pairing Ideas
The versatility of olive bread extends beyond just dips and spreads; it’s a fantastic addition to a range of meals. Picture it alongside a fresh, crisp Mediterranean salad, adding a satisfying crunch and depth of flavor. Or, use it as a base for an open-faced sandwich, topped with prosciutto, cheese, and arugula for a quick yet gourmet lunch. Olive bread also makes a great accompaniment to soups and stews, perfect for soaking up every last bit of deliciousness.
“Delicious Gumbo Recipe: A Taste of Southern Comfort” for you looking for meal ideas to pair with olive bread.
Incorporating olive bread into your meals is not just about adding a side dish; it’s about elevating the entire dining experience. Its unique flavor and texture make it a versatile and delightful addition to any table. So, whether you’re hosting a dinner party or just enjoying a meal at home, olive bread is sure to be a hit.
Storage and Freshness
Short-term Storage
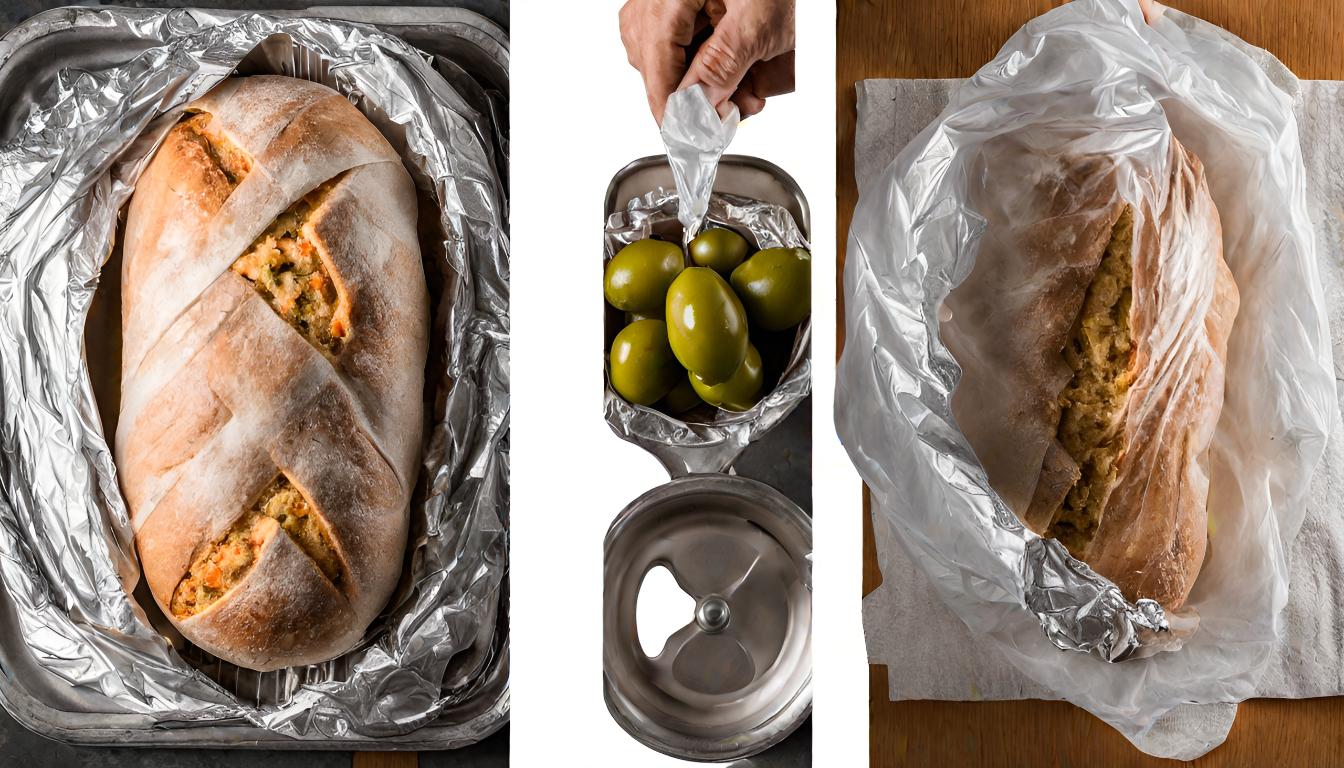
To maintain the delightful texture and flavor of your freshly baked olive bread, proper storage is key. For short-term storage, keep the bread at room temperature. Wrap it in a clean, dry cloth or place it in a bread box to retain its crusty exterior and soft interior. Avoid plastic bags, which can make the crust soggy. Properly stored, your olive bread will stay fresh for about 2 to 3 days, ensuring you can enjoy its savory goodness to the fullest.
Easy Olive Bread Recipe” from Sally’s Baking Addiction: Easy Olive Bread Recipe
Freezing and Long-term Storage
For long-term storage, freezing is an excellent option. Wrap your olive bread tightly in plastic wrap and then in aluminum foil to protect it from freezer burn. When you’re ready to enjoy it, thaw the bread at room temperature and reheat it in the oven to restore its warmth and crispness. Frozen olive bread can last for up to 3 months, making it a convenient option for those who love to have their favorite bread on hand anytime.
Storing olive bread correctly ensures that every slice is as enjoyable as the first. Whether you’re savoring it over a few days or saving it for later, these storage tips will help keep your bread at its best. So, go ahead and bake with the reassurance that your delicious creation can be enjoyed whenever the craving strikes.
Common Mistakes and Troubleshooting
Dough Consistency Problems
When it comes to making olive bread, achieving the right dough consistency is crucial. A common mistake is a dough that’s either too sticky or too dry. If your dough is too sticky, it could be due to excess water or not enough flour. Conversely, a dry, tough dough might mean not enough water was added. The key is to find a balance – the dough should be slightly sticky but still manageable. Remember, the humidity and type of flour can affect the dough, so adjustments might be necessary.
Baking and Texture Issues
Another area where bakers often face challenges is in the baking process, affecting the bread’s texture. If your olive bread isn’t rising properly, it could be due to old yeast or incorrect proofing temperature. Ensure your yeast is fresh and that the dough is kept in a warm, draft-free area during proofing. On the other hand, if the bread is too dense, it might not have been proofed long enough, or there could have been too much flour in the mix.
Baking temperature is also crucial. An oven that’s not hot enough can lead to undercooked bread, while too high a temperature might burn the crust before the inside is done. Using an oven thermometer can help ensure the accuracy of your oven’s temperature settings.
Troubleshooting these common issues can make the difference between a good loaf and a great one. Understanding these potential pitfalls and knowing how to address them will enhance your baking skills, making you a more confident and successful baker. So, don’t be discouraged by a few hiccups; they’re just stepping stones on your journey to perfecting your olive bread recipe.
FAQs
Common Queries and Expert Answers
Q: Can I use different types of olives in my olive bread?
A: Absolutely! Feel free to experiment with various types of olives. Kalamata, green, or a mix of both can add unique flavors to your bread. Just ensure they are pitted and chopped.
Q: How do I know when my olive bread is fully baked?
A: A good indicator is the color and sound of the crust. The bread should have a golden-brown crust and sound hollow when tapped. For a more precise test, an internal temperature of 195°F (90°C) indicates it’s done.
Q: Can olive bread be made vegan?
A: Yes, olive bread can easily be made vegan. The basic ingredients of flour, water, yeast, and olives are naturally vegan. Just ensure any additional ingredients like olives are not marinated in non-vegan substances.
Q: Why did my olive bread not rise properly?
A: This could be due to a few reasons: expired yeast, incorrect proofing temperature, or inadequate proofing time. Ensure your yeast is fresh, and let the dough rise in a warm, draft-free area.
Q: Can I freeze olive bread dough?
A: Yes, you can freeze olive bread dough. After the initial rise, shape the dough, wrap it tightly in plastic wrap, and freeze. Thaw in the refrigerator overnight and allow it to come to room temperature before baking.
Q: Is olive bread suitable for people with gluten intolerance?
A: Traditional olive bread is made with wheat flour, which contains gluten. However, you can try making it with gluten-free flour blends designed for bread baking.
Q: How can I add more flavor to my olive bread?
A: Consider adding herbs like rosemary or thyme, sun-dried tomatoes, or a sprinkle of cheese to the dough for extra flavor. Experimenting with different ingredients can lead to delicious variations.
These FAQs cover some of the most common questions and concerns about making olive bread. Armed with these answers, you’re well-equipped to tackle this recipe and enjoy the delicious results. Remember, baking is a journey of learning and discovery, so embrace the process and enjoy every step!
Conclusion
Wrapping up our comprehensive journey through the world of olive bread, it’s clear that this delightful loaf is more than just a recipe; it’s an experience. From selecting the perfect blend of olives to mastering the art of dough proofing and baking, each step in creating olive bread is a testament to the joy of baking. This bread is not just a treat for the palate but a celebration of culinary craftsmanship.
As we conclude, remember that olive bread, with its rustic charm and rich flavors, is a versatile and beloved addition to any meal. Whether you’re a seasoned baker or a newcomer to the kitchen, the journey of making olive bread is filled with opportunities to learn, experiment, and, most importantly, enjoy the process.
So, the next time you’re in the mood for something savory and satisfying, why not revisit this guide and bake a loaf of olive bread? Each slice is a reminder of the simple pleasures of baking and the endless possibilities that come with it. Happy baking!


Comments are closed.